
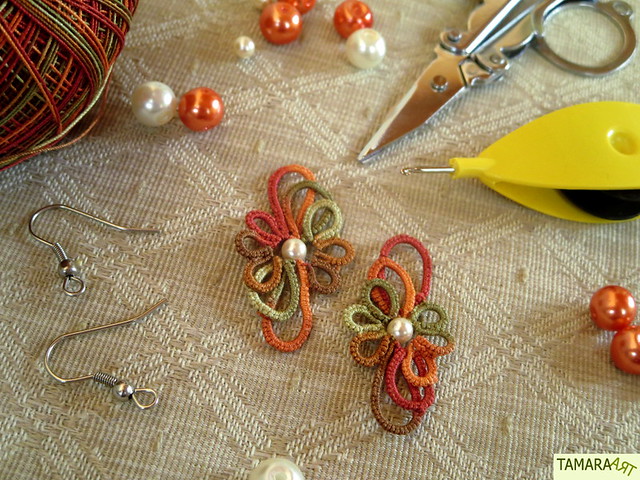
I am not sure if this is really the 'ankar' technique. But it was called that way in the tutorial that I used to make these earrings. It's a pattern of only rings, which you attach in layers on top of eachother. At the end you sew on a little bead.

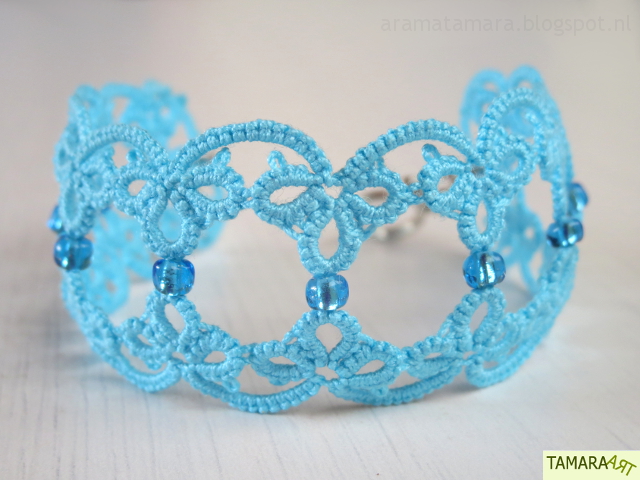
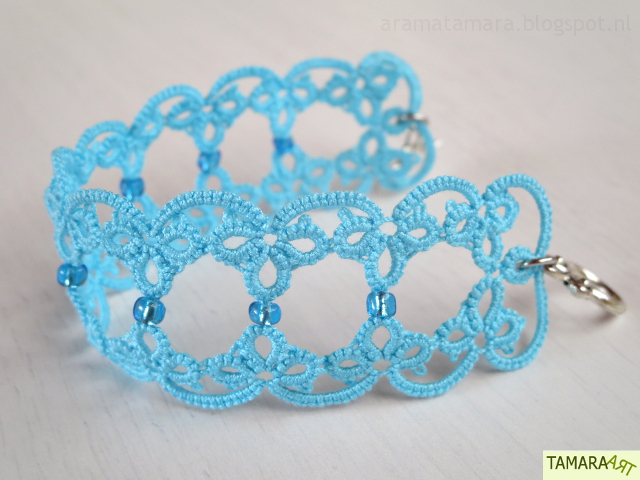
Ik heb dit paar gemaakt met Lizbeth 20 garen. Kleur: Caribbean (122). Helemaal toepasselijk, want ik heb deze oorbellen in de Dominicaanse Republiek gemaakt! ;) Ik vind dit sowieso een heel mooi kleurverloop, blauw en paars, twee van mijn favoriete kleuren!
I made this pair with Lizbeth size 20 thread. Color: Caribbean (122). Just the right color, because I made these earrings in the Dominican Republic! ;) I really like the colors of this thread, blue and purple, two of my favorite colors!
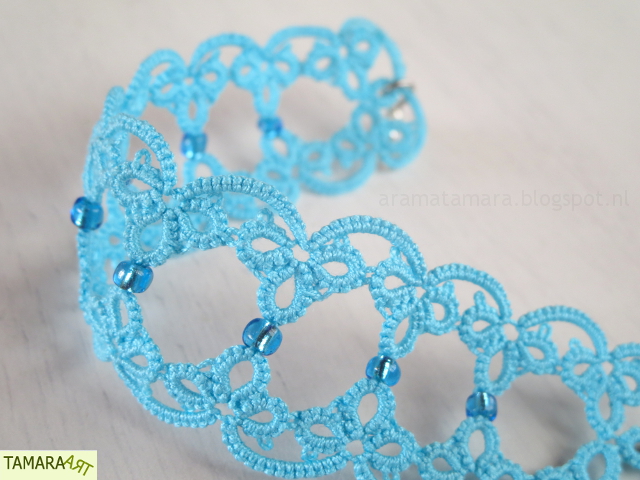
En hier nog een keer dezelfde oorbellen, maar dan gemaakt in draaddikte 40. Kleur: Lizbeth Autumn Spice (136). Deze kleuren vind ik ook erg mooi. Maar het draad was heel erg lastig om mee te werken. Het krulde ontzettend... :( Dit was de eerste keer dat ik met draaddikte 40 werkte. Dus ik weet niet of deze draaddikte altijd zo krult, of dat ik toevallig pech had en dit bolletje verkeerd was gewonden. In ieder geval was ik erg blij toen ik de oorbellen, na heel vaak op nieuw te zijn begonnen, eindelijk klaar had! =)
And here are the same earrings, but now in thread size 40. Color: Lizbeth Autumn Spice (136). I really like these colors as well. But the thread was really hard to work with. It twisted way too much... :( This was my first time using size 40 thread. So I don't know if this thread size always curls this much, or if it was just bad luck and this ball wasn't wound the right way. Anyway, I was very happy when I finally finished these earrings, after having to start over many times! =)
---
Ik heb Maria Papias tutorial op YouTube gebruikt om deze oorbellen te maken. Je kunt deze video hier vinden: YouTube Ankars Flower
I used Maria Papia's video tutorial on YouTube to make these earrings. You can find the video here:
YouTube Ankars Flower
I made this pair with Lizbeth size 20 thread. Color: Caribbean (122). Just the right color, because I made these earrings in the Dominican Republic! ;) I really like the colors of this thread, blue and purple, two of my favorite colors!
And here are the same earrings, but now in thread size 40. Color: Lizbeth Autumn Spice (136). I really like these colors as well. But the thread was really hard to work with. It twisted way too much... :( This was my first time using size 40 thread. So I don't know if this thread size always curls this much, or if it was just bad luck and this ball wasn't wound the right way. Anyway, I was very happy when I finally finished these earrings, after having to start over many times! =)
---
Ik heb Maria Papias tutorial op YouTube gebruikt om deze oorbellen te maken. Je kunt deze video hier vinden: YouTube Ankars Flower
I used Maria Papia's video tutorial on YouTube to make these earrings. You can find the video here:
YouTube Ankars Flower

)
)
)
)
)