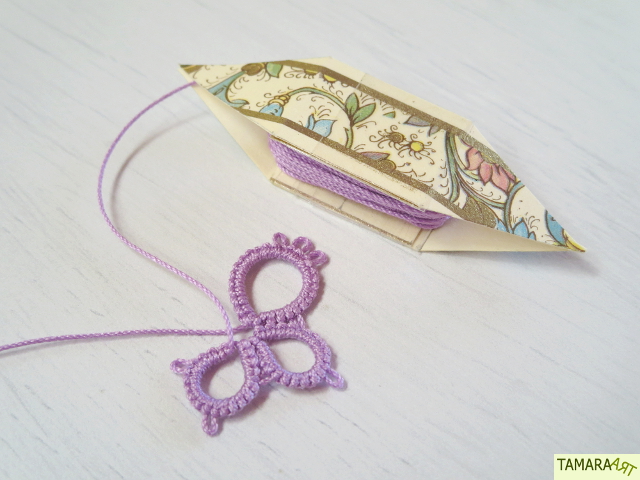
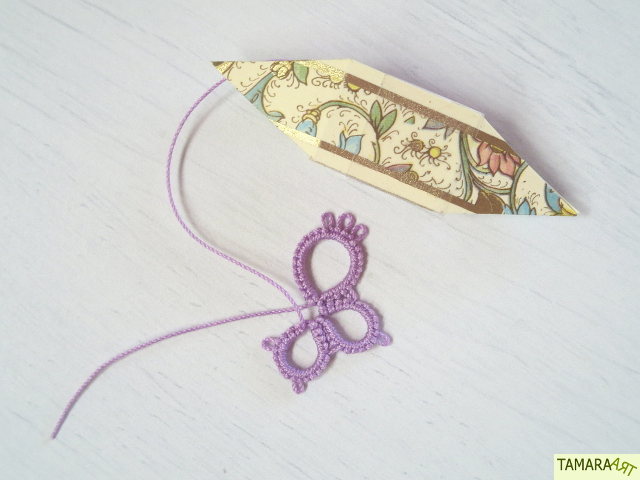
I think many tatters first started with this butterfly pattern. =) It's made out of only rings and picots, and therefor very easy to do! Perfect for my workshop, so I started making some examples. I used Tatted Treasures' pattern (click here and scroll down). I can really recommend Tatted Treasures to beginners! On this blog there are many video tutorials of all the tatting basics!
For this homemade shuttle I searched my house for a cardboard box with a pretty print. (cornflakes on your shuttle is not really what you want, right?) But I couldn't find anything... For a moment I was tempted to cut up the cover of a book, but then decided I might regret that later. ;) At last, I found some pretty and sturdy stationary paper in the back of my closet.
To make sure the print would be in the middle (it was at the border of the paper), I had to make the shuttle a little slimmer. And, since the paper was thinner (I guess about 200 gr/m2) than the cardboard of the cornflakes box, I also made it a little higher. I am really surprised at how sturdy this shuttle is for such 'thin' paper! And actually, I also think this little shuttles works even better! =)
De tutorial voor het maken van je eigen spoeltje vind je hier: DIY frivolité spoeltje
You can find the tutorial on how to make your own shuttle here: DIY tatting shuttle


This is how it always goes. You think you are finished and immediately start revising. :) It's a lovely shuttle. So does this narrower one have the additional support of model 2.0?
BeantwoordenVerwijderenHaha, yes, you're right... I guess this could be shuttle 3.0... ;) Although, I do think it all depends on the thickness of the paper you're using. This might not work with a cerial box, because there would not be enough space left for the thread. I did put the extra part of model 2.0. This one would definitely not be strong enough without it, the paper is quite thin.
VerwijderenWaarom staat de werkwijze alleen in het Engels . Voor het spoeltje te maken staat het ook in het Nederlands.Ik kan niet goed volgen in het Engels of waar vind ik de Nederlandse beschrijving ?
BeantwoordenVerwijderenDat komt doordat het patroontje van de vlinder niet door mijzelf is gemaakt. Ik heb het gevonden op de website van Tatted Treasures, waar ik naar link. Misschien kun je deze site vertalen met behulp van Google Translate?
VerwijderenDe beschrijving voor het maken van het spoeltje heb ik wel zelf gemaakt, vandaar dat die wel in het Nederlands is.